The Best Yoga Cues for Upward Facing Dog (Start with the Foundation)
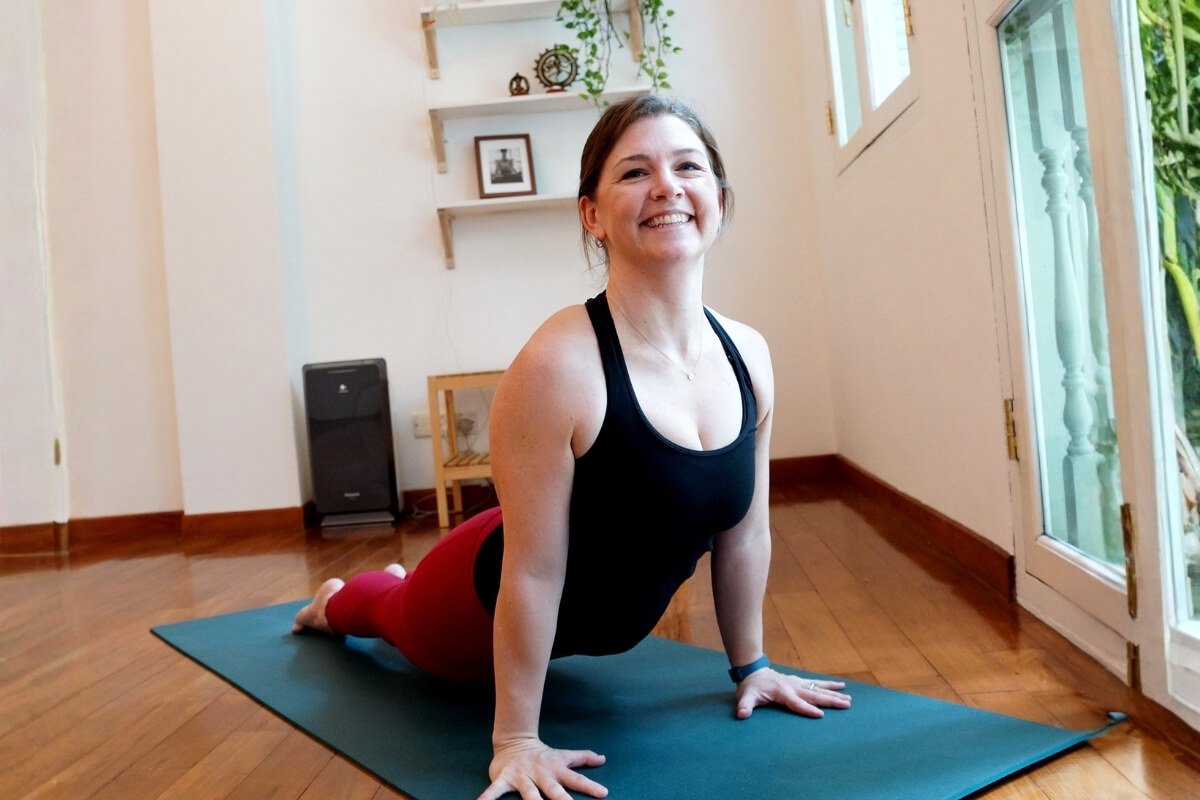
"Upward facing dog... and then press back to downward facing dog."
I've heard it countless times. Heck, I've said it countless times early in my teaching career. Upward facing dog would come and go in the flow, and I'd barely give it a second thought. It was more of a transition than a posture I was actually teaching.
Then one day I stopped and watched what was happening in the room. Collapsed lower backs. Crunched shoulders. Students who looked more like they were surviving the posture than experiencing it.
That's when I realized: I wasn't really cueing upward facing dog. I was just announcing it. And when I started paying attention to other classes, I noticed most teachers were doing the same thing.
The best yoga cues for upward facing dog focus on the foundation, the hands and feet, because when you press down into the earth, you create lift. This isn't just a nice idea. It's physics. Newton's third law tells us that every action has an equal and opposite reaction. Press down, and the earth pushes back up.
As a doctor of physical therapy with over 25 years of experience and a yoga teacher trainer, I've found that the most effective cues are often the simplest. And they almost always start with the foundation.
In This Article:
Why foundation cues matter more than "lift your chest"
Two cues for the feet that create stability and lift
Two cues for the hands (same principle, different body part)
How pressing down prevents wrist pain
Why Start with the Foundation?
Here's something I've learned from working with hundreds of yoga teachers: when a student looks unstable or stuck in a posture, the answer is usually in the foundation.
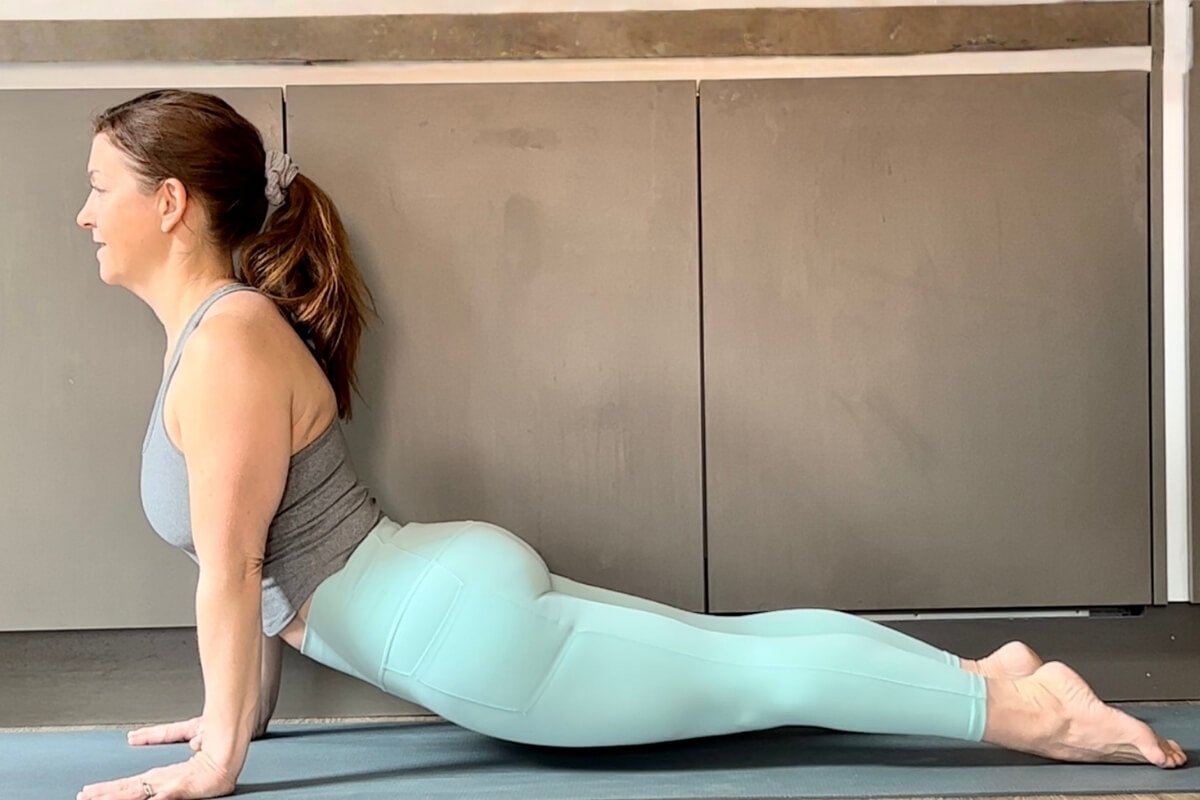
Upward facing dog has two points of contact with the ground: the tops of the feet and the hands. That's it. Everything else is lifted off the ground. So if you want to help your students find more lift, more stability, more ease in the posture, you start where their body meets the earth.
The common instinct is to cue the chest or the shoulders. Lift your heart! Roll your shoulders back! Those aren't bad cues, but they skip a step. Without a stable foundation, lifting the chest just compresses the lower back.
A more empowering approach: Build from the ground up. Get the foundation right, and the lift happens almost automatically.
Two Cues for the Feet
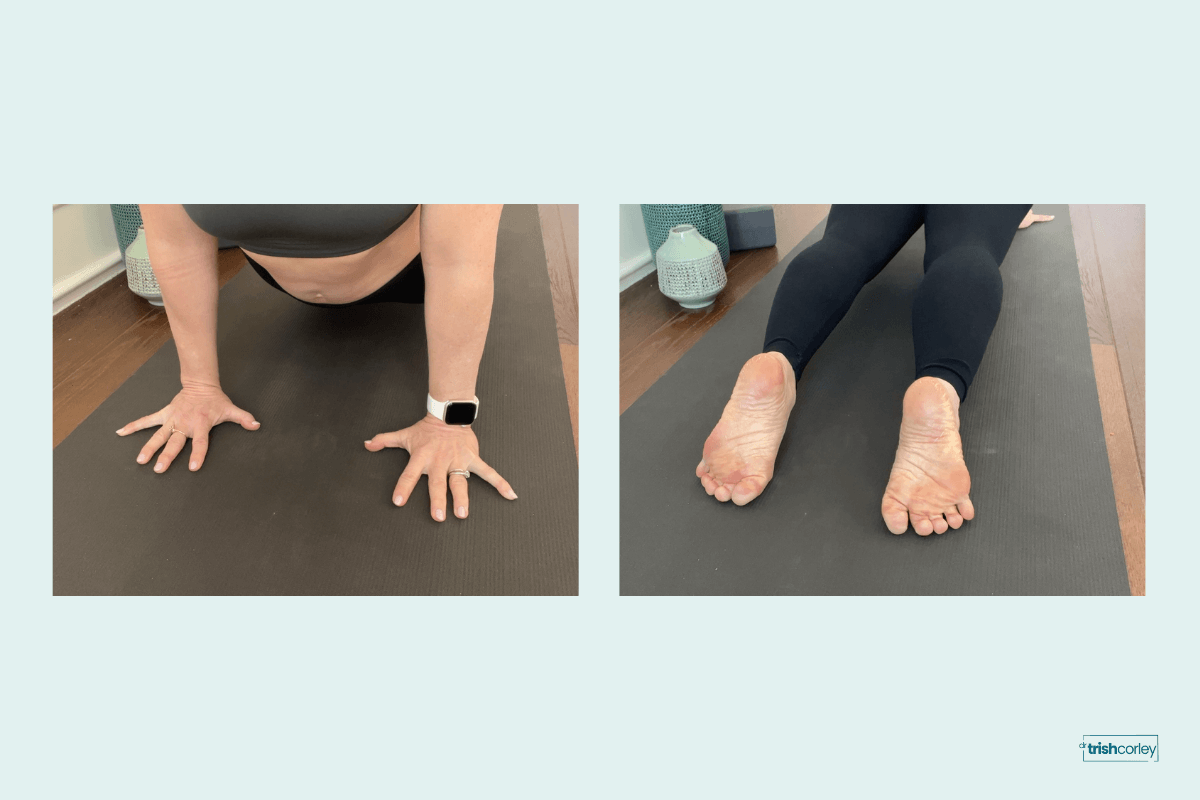
Cue #1: "Spread your toes as wide as you can."
This simple cue does two things at once.
First, it widens the base of support. A wider base means more stability. More stability means your students can relax into the posture instead of gripping to stay upright.
Second, spreading the toes activates muscles throughout the entire leg. Try it right now, wherever you are. Spread your toes wide and notice what happens. You'll likely feel your calves, your quads, maybe even your glutes wake up. That's not a coincidence. Your body is connected, and activation in one area ripples outward.
Cue #2: "Press the tops of your feet down into the ground."
This is where Newton comes in.
When you press down into the earth, the earth pushes back. That opposite force creates lift in your body. So instead of muscling your legs up off the mat, you press your feet down and allow your body to work efficiently, in a way that physics supports you rather than challenges you.
If you want to help your students create more lift in upward facing dog, don't just tell them to lift. Cue them to press down.
Two Cues for the Hands
The hands are the other half of the foundation. The same principles apply.
Cue #3: "Spread your fingers as wide as you can."
Just like spreading the toes, spreading the fingers creates a wider, more stable base of support. It also activates muscles up through the forearm, arm, and shoulder.
Here's a bonus: this cue can help prevent wrist pain. When your fingers are spread wide and actively pressing, the load distributes more evenly across your hand. When the fingers are passive or curled, too much pressure concentrates in the heel of the hand and the wrist takes the brunt of it.
Cue #4: "Press the four corners of your hands down into the ground."
Same physics, different body part. Press your hands down, and your upper body lifts.
The "four corners" piece is important. It ensures even distribution of weight across the whole hand: the base of the index finger, the base of the pinky, and both sides of the heel of the hand. Even distribution means less strain on any single area, which is good news for wrists.
The Bottom Line
The best cues for upward facing dog don't start with the spine or the chest. They start with the foundation. Spread your fingers and toes wide to create stability. Press your hands and feet down to create lift. When the foundation is solid, everything above it can find more ease.
These four cues work because they're grounded in anatomy and physics, not just tradition. And once you understand the why behind them, you can adapt them for any student in front of you.
Get Curious! Q&A
Why do students get wrist pain in upward facing dog?
Wrist pain in upward facing dog often comes from uneven weight distribution. If most of the pressure lands in the heel of the hand, the wrist gets compressed. Cueing your students to spread their fingers wide and press through all four corners of the hand helps distribute the load more evenly.
What's the difference between upward facing dog and cobra?
In cobra, the legs and pelvis stay on the ground. In upward facing dog, only the hands and tops of the feet touch the mat, with everything else lifted off the ground. Upward facing dog requires more strength and stability, which is why foundation cues are so important.
Should students tuck or untuck their toes in upward facing dog?
The tops of the feet press into the mat in upward facing dog, so the toes are untucked. There's more to this choice than meets the eye (it affects your spine and lower back too), but for now, just know that untucked toes allow for that downward press that generates lift.
Can I use these cues in other postures?
Absolutely. The principle of "press down to lift up" applies across many yoga postures. Downward facing dog, handstand, even standing balances all benefit from a stable, active foundation. These foundation cues are a starting point, not the whole picture.
Keep Building Your Cueing Confidence
These four foundation cues are a great place to start. And if you want to go deeper with anatomy-informed cueing, my 4-week Cue with Clarity course starts February 17th. You'll learn how to cue with confidence, connect cues to anatomy, and find your authentic teaching voice.
Not ready for the course? Grab my free Cue with Confidence guide to see how anatomy-informed cueing works for the feet (with the science behind each cue). It's the same approach I teach in the course.
[Get the Free Guide: Anatomy-Informed Foot Cues for Stability, Balance & Grounding →]
About the Author
Dr. Trish Corley is a Doctor of Physical Therapy (Physiotherapy) and yoga teacher trainer with over two decades of clinical experience. She helps yoga teachers learn anatomy, give clear cues, and create classes their students love. Based in Lisbon, Portugal, she leads the Enlightened Anatomy Course, the Elevate Your Impact Mentorship, and the Power to Lead 200-Hour YTT.